Our stationary will be out of control and missed somewhere if we don’t have the pencil holder, in this tutorial we will learn how to draw a pencil holder step by step. We use a pencil holder to keep our stationary, so it is saved and easy to get when we need it.
The pencil holder is placed in the study area, so it is the reach of a person who works in the study room.
The aim of drawing the pencil holder is to sketch some real object with its perspective and depth. It also attracts the interest of the artist because the stationary is the basic need of an artist so his interest developed to grab this image on their sheets.
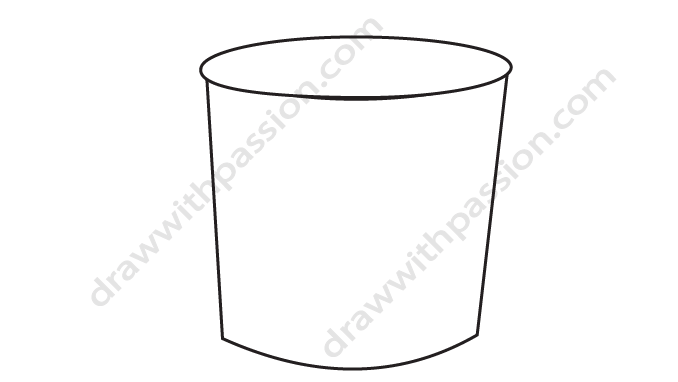
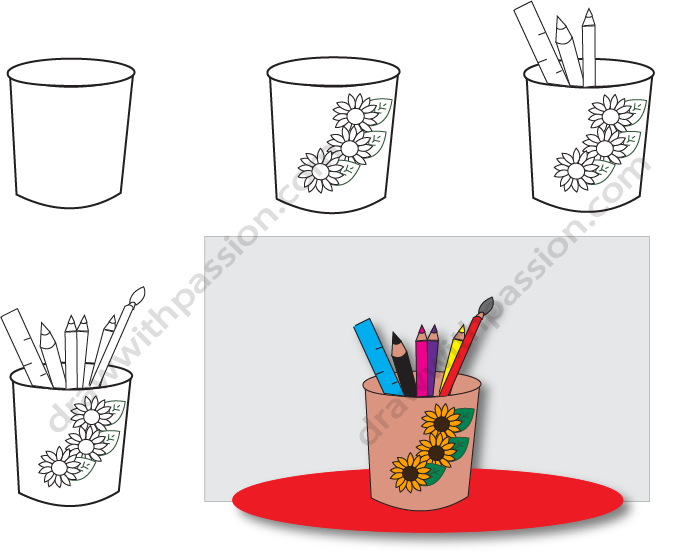
Step1: We will draw the glass in the beginning, so draw the oval first that is the top of the glass then two diagonal lines right and left side. Then draw a curve in the bottom.
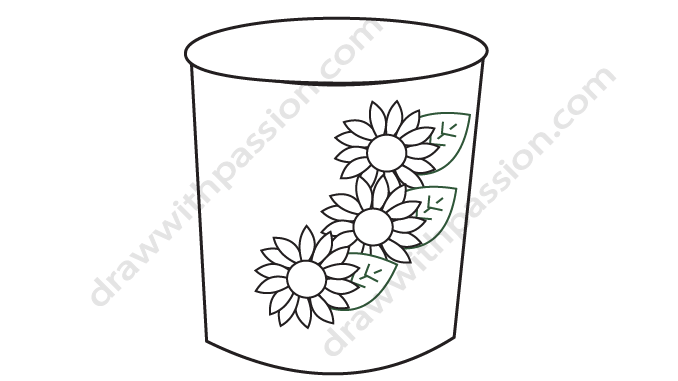
Step2: You can draw the three flowers with leaves, or any other picture to decorate your glass. For flowers draw the circle and the leaf shapes for petals, draw one by one three flowers behind each other. And then leaves on the right side of the flower.
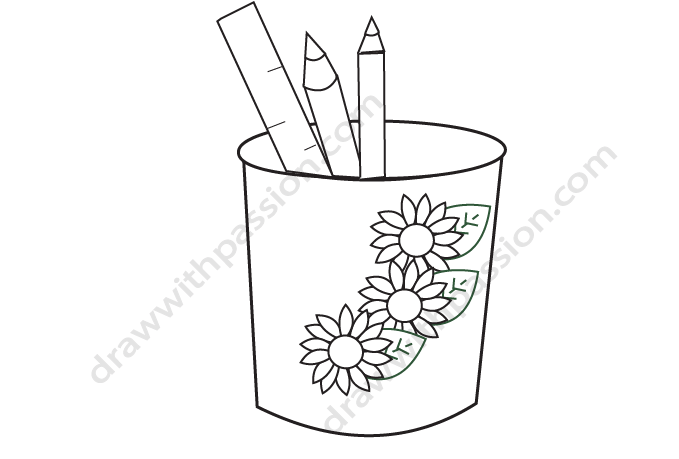
Step3: Now draw the scale and color pencils for which draw the rectangle on the left side and draw the inner details of the scale.
After it draws the pencil which is next to the scale, for it draws the upper portion then the lower which is the rectangle narrow from the bottom.
Draw the second pencil with the upper part first then the rectangle for the lower part.
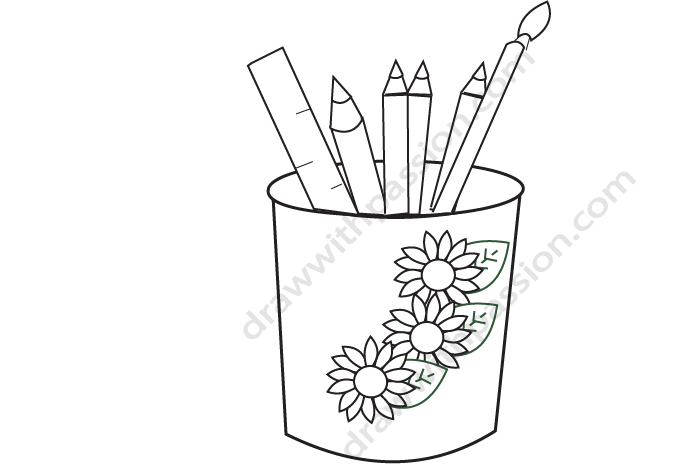
Step4: Now draw the third and fourth pencil the same as the first one. With narrow lower parts, then draw the brush to the right side, same as shown in the reference image.
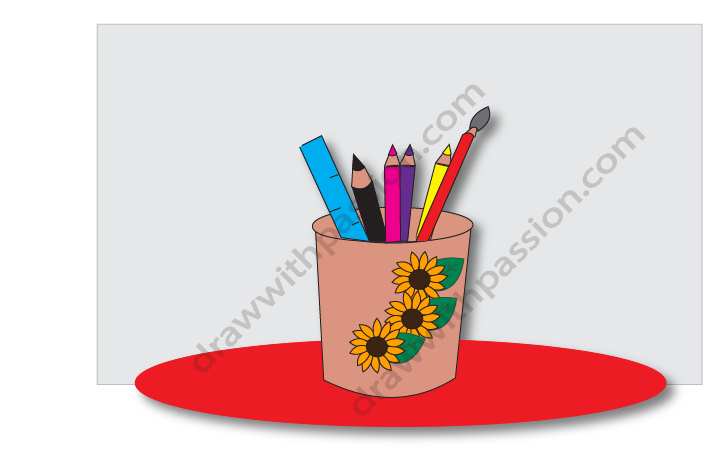
Step5: Here we will fill the color in our pencil holder. You can also add pencils and pens of your choice. Draw the table or book shelf on which it stands. You can also draw the home or office environment with little changes. Have fun with your explorations.