
Hey friends are you interested in drawing a leaf with me. In this tutorial we will learn how to draw a leaf step by step.
World’s greenery is because of green leaves, they not only give beauty to the world but also prepares food for plants. We use leaves in so many artworks, even sceneries are incomplete without them.
Leaves increase the beauty of environment and on other hand they are used in the paintings and in a home decoration item.
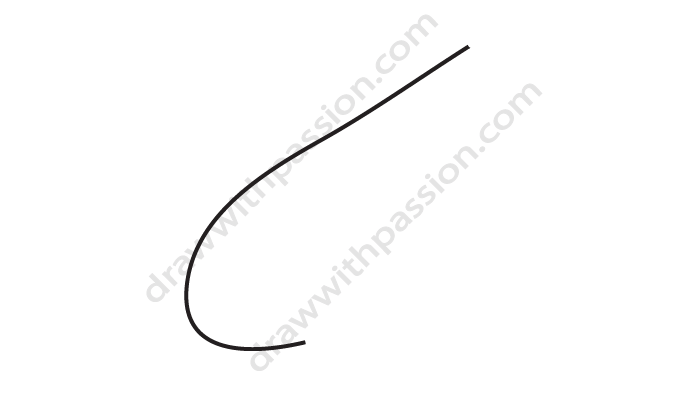
Step1: Draw a curved line which looks like a human nose. This is the very simple way to start with, after practice of two or three times you will perfectly achieve it.
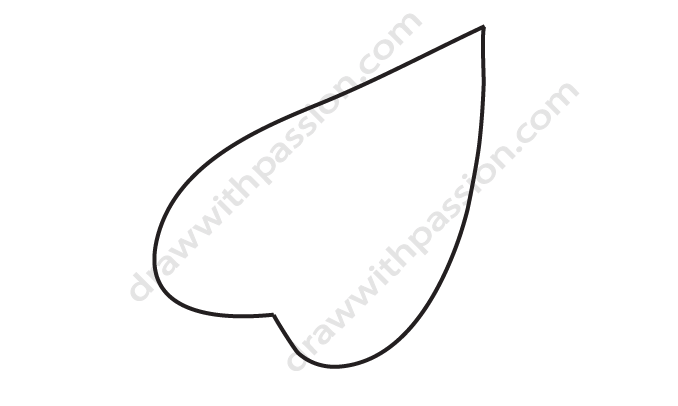
Step2: From the top of the curved line which we drew in step one start the second curved line and finish it to the bottom of the first curved line. Keep an eye on the image which I attached with step two, for getting the accurate shape of the leaf.
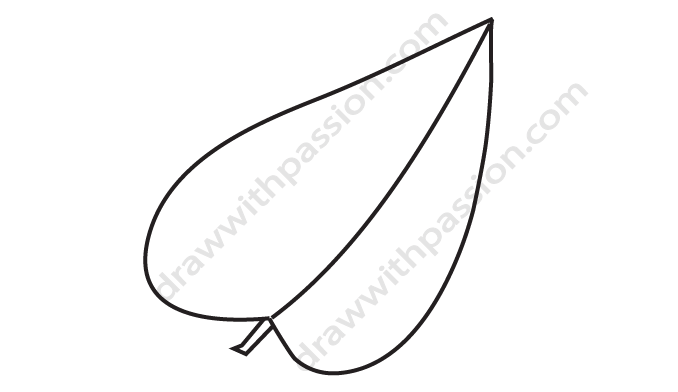
Step3: Now we will draw the midrib, the curved line which divides a leaf in two parts. After this draw the small stalk which is visible in the image of this step. You can use this leaf for any of your projects. In the next step I will add the shade in the leaf.
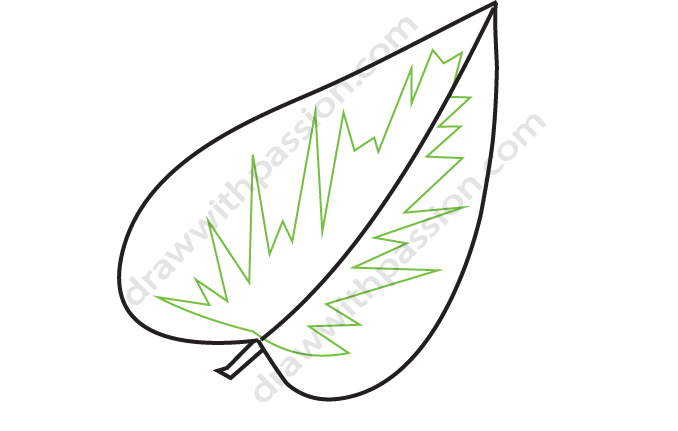
Step4: Here we can add a shade inside the leaf, in it I will fill the different green shade than the leaf to make it more beautiful.
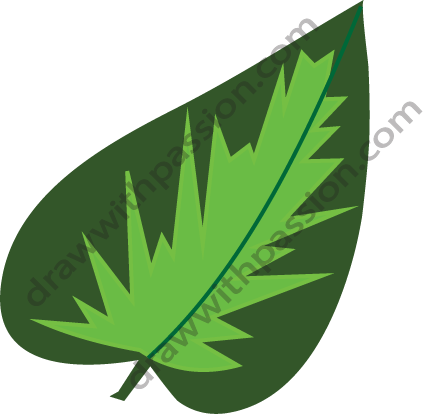
Step5: .Green is a very cool color while working with green the feeling of peace and relaxation is obtained. There are many shades of green, you can fill any of your choice by using your creativity.


