
Hey friend I m with you to show how to draw a pumpkin step by step. Pumpkin is a squash type fruit, it is used for making pie and soup. People also use them as a devotion and decoration for making jack-o-lanterns at Halloween. They are full of nutritious values and healthy vitamins. Lets have fun drawing this unique squash in a few easy steps.

Step1: Draw two round shapes which are curled from some points, the front shape is smaller than the back and place the smaller one in a way that it covers some part of the big shape
See the reference image carefully and draw it in the same way, the perfect outline of the pumpkin will in the coming steps create the exact same final image.
So practice it until you can’t create the exact same reference image.

Step2: Now draw the stalk of the big pumpkin, for that draw the bottom line’s first then from the two corners of bottom line stretch two curve lines upward the left side line should be slightly curved than the the right side line which make the c type shape.
Very nice you have successfully completed most of the stalk. After this, close the top part of the stalk with a diagonal and curved line.
Complete the inside stalk lines as shown in the reference image.
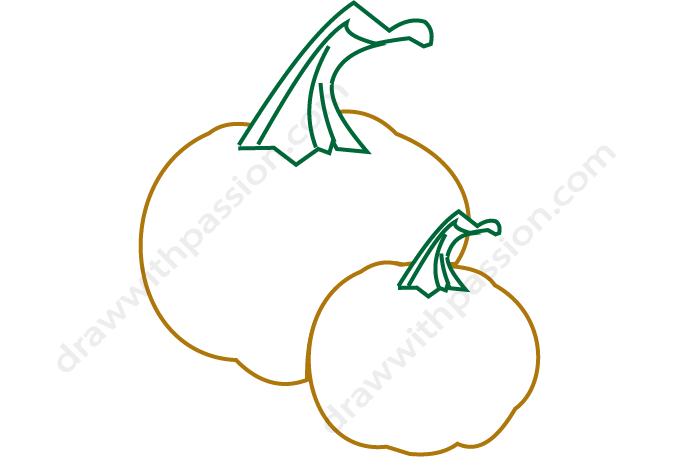
Step3: This step is super easy, you have to draw the stalk of a small pumpkin in the same way as you have drawn for the big pumpkin.
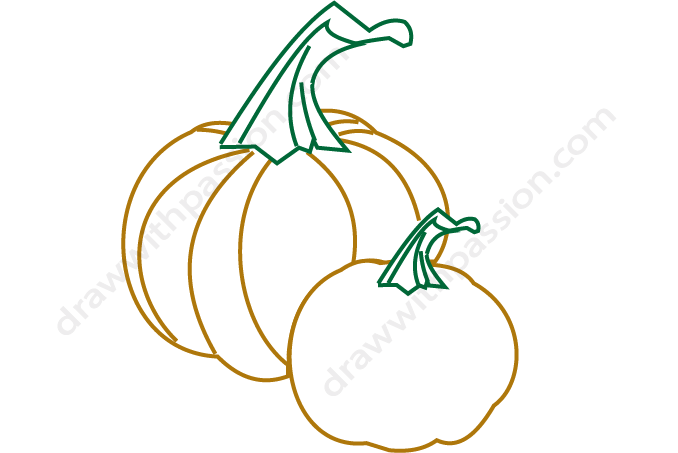
Step4: You have to draw a few curve lines inside the big pumpkin as it is shown in the reference image.
This will turn it into a beautiful pumpkin look. So start drawing curve lines from the top smaller curve lines which will be the bigger one as we move forward.
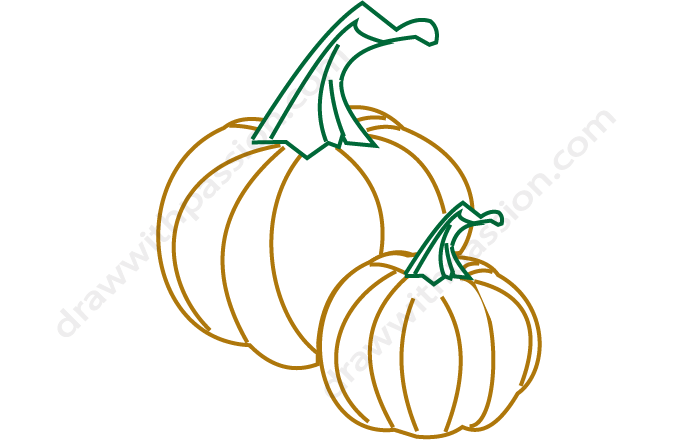
Step5: In this step draw the curve lines inside the small pumpkin so you have successfully completed the second one and both the pumpkins look so attractive.
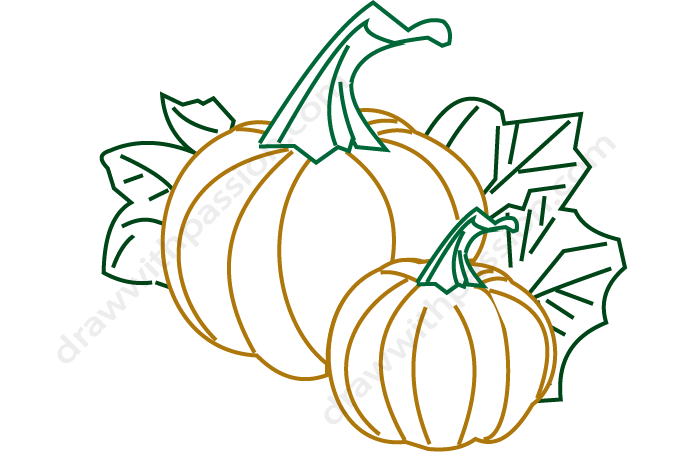
Step6: To give it a more real look we will draw the leaves at the back side of the pumpkin.
So for this purpose you have to draw the half prominent leaves on the left side and some more leaves at the right side of the pumpkin as shown in the reference image.
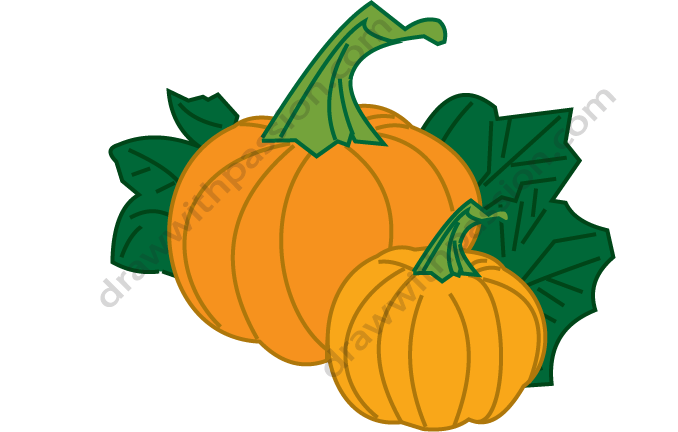
Step7: After color it gives the most nice glance, so here you can see that you have created the fascinating image.
You can also use your creative ideas to create the beautiful background and also you can add one or more pumpkins with your present image.


