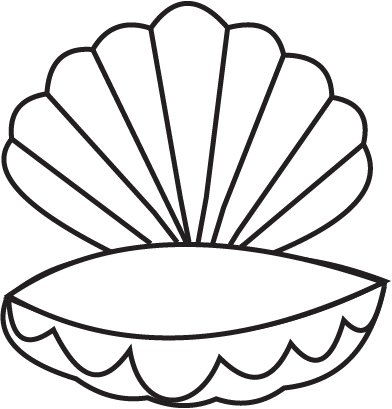
In this tutorial I will show you how to draw a seashell step by step. They are strong enough that they are used in decoration items and to prepare jewelry. Spiritually oyster shells are known for abundance and protection and it carries pearls along it.

Step1: Draw fish shape, that will be narrow pointed from the corner and wide from middle. Oyster shells seem a bit difficult to draw but if you follow this guide to draw it with the help of simple shapes you will successfully achieve the final image easily.

Step2: Now draw two curved lines on the upper part of the fish shape that are facing each other with some distance between them. This step and the next two steps need little patience so keep a reference image in front of you while drawing.

Step3: Here you have to draw two small curved lines on both the sides from the top corners of the lastly drawn curved lines. Try to draw it the same as a reference image.

Step4: complete the shell cover by drawing the one small curved line on both the side and the last on the top center, as it is shown in the reference image. Here you can notice that the image shows resemblance with the shell shape. So you have been nicely scratched till now.

Step5: In this step under this fish shape we will draw the pot shape which has three small curves in the bottom. We almost completed the oyster shell.
Inside the shell cover draw some diagonal lines which start from each corner of the curve and end on the bottom of the shell cover.
After this draw some more small curves on the upper portion of the pot shape. Keep a reference image in front of you to get a better idea.

Step6: You can draw one or more pearls inside the shell, here you have successfully completed your seashell.

Step8: You can give a natural shade of cream or brown to the shell or you can give your choice of different shades in it. To increase its beauty draw the background for this shell. Did you find any shell near the sea, how did you feel, share with us. Your comments are precious and appreciable for us. Have fun with your artwork.


